Tired of coming back from kayak fishing trips without a catch?
You need the underwater intel on where those fish are hiding!
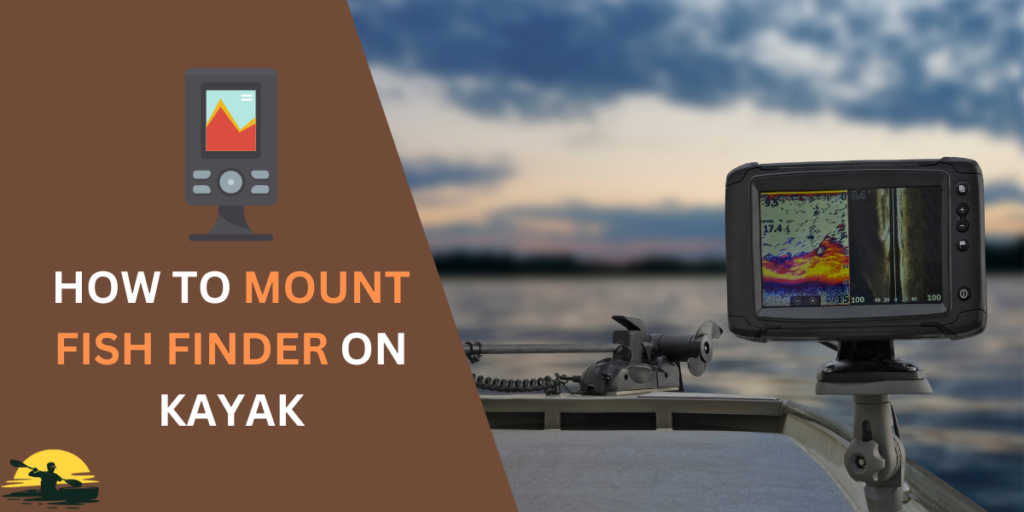
Mounting a fish finder on a kayak seems complicated. It’s not as simple as installing it on a big boat – you need to be smart about placement.
A fish finder is the key to kayak fishing success!
This guide will walk you through the whole mounting process, ensuring your electronics are set up for maximum fish-finding power.
Gear Up: Get your fish finder, which has a display, transducer, battery, and the right mounts.
Location Scout: Find the best spots on your kayak for the transducer (needs clear water view), display (visible & safe), and battery (secure & dry).
Choose Your Mount: Install the transducer inside the hull (clean), through the hull (strong signal), or use an external mount (easy).
Power It Up: Connect a suitable 12v battery. Keep it in a waterproof box.
Wire It Right: Follow instructions to attach the display, transducer, and battery. Keep wires neat. Go Fish! Practice using your fish finder and learn to understand what you see on the screen!
The Parts of Your Kayak Fish Finder
Before we start mounting anything, let’s see what a kayak fish finder system is made of.
Don’t worry; it’s not rocket science! We’ll make you understand.
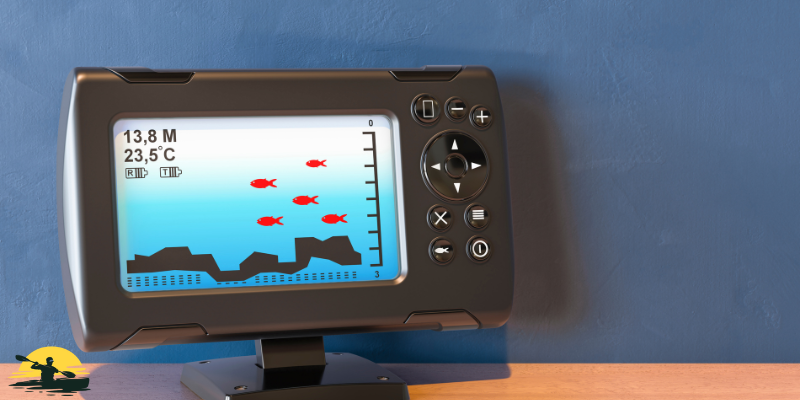
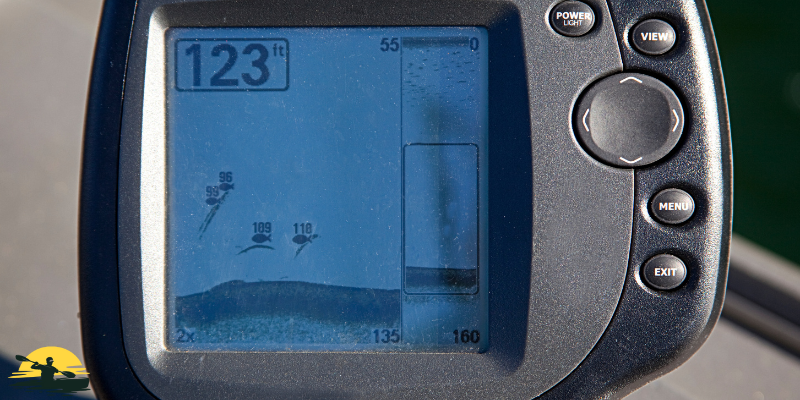
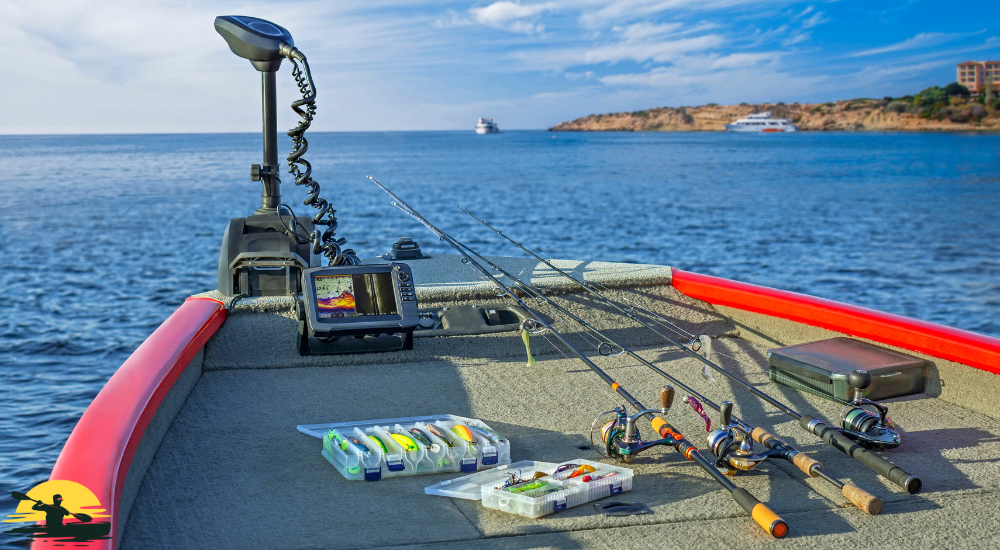
- The Fish Finder Display: This is the screen – like a tiny TV – that shows you all the cool underwater stuff. Fish look like little arches, the bottom shows as a line, and you can even see rocks and weeds. Think of it as upgrading your kayak fishing game!
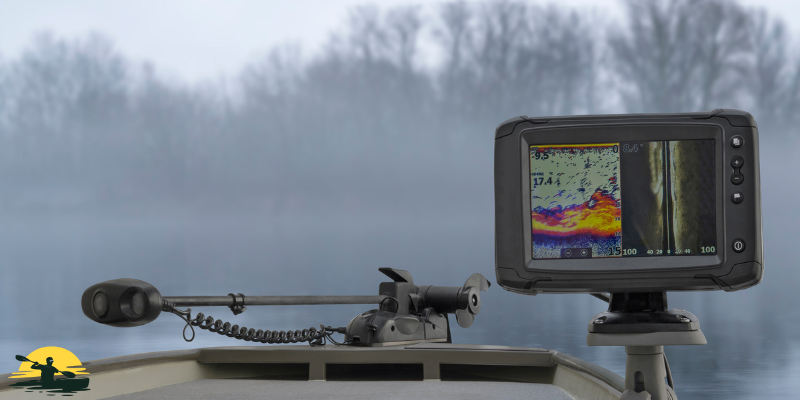
- The Transducer: This is the magic part that does the ‘seeing’ underwater. It sends out sound waves (kind of like a bat’s sonar) and then listens to the echoes. Most units have this attached to an arm or other mount.
- The Battery: Fish finders need power! Most kayaks use small, special batteries that are usually tucked inside a battery box to keep the battery dry and safe.
- The Mounts and Wires: You’ll need mounts to attach the display and transducer to your kayak. Then, there are wires to hook the display to the battery and transducer. This is how everything connects. Some systems are super neat; others get a bit messy.
Important Note: Not all fish finders are the same so that yours might have some extra pieces or different accessories. Always check the instructions that came with it to be sure.
Where to Put It All – Picking The Right Spots
Now that you’ve assembled the parts (display, transducer, battery, and all their mounting buddies), it’s time to decide where to set them up on your kayak.
This part takes some thinking, but it’s super important to get a clear signal from your fishfinder—like having a good Wi-Fi connection down there!
Where to Put the Transducer
- Location: Your transducer needs to be in the water, with nothing blocking its “view” of the bottom. Think of where it might get bumped by your paddle or get tangled in weeds – avoid those spots!
- Hull Shape Matters: Every kayak hull (the bottom part) is a bit different. Some are flat; some are curved. You want to find the flattest area possible for the best signal.
- Don’t Be Afraid of Hatches: If you have storage hatches inside your kayak, those can sometimes be good mounting spots, especially if you don’t want to drill holes.
Where to Put the Display
- Easy to See: You want to be able to glance at your fishfinder, so pick a spot within reach and where the sun won’t create glare on the screen.
- Out of the Way: You don’t want it to get in the way of paddling or fishing. Avoid spots where it could snag on your line or get knocked off the kayak.
Where to Put the Battery
- Secure and Dry: Find a safe spot where the battery can’t move. Most people stash their batteries in special waterproof boxes or bags.
- Think About Weight: It’s a small thing, but where you put the battery inside can change how balanced your kayak feels in the water.
Pro Tip: It’s a good idea to do a “dry run” before you start installing anything. Could you place the parts where you think they’ll go and check if everything fits the way you want? Sometimes kayaks have incredible detail, like built-in features or tracks, that can be super handy for mounting!
Mounting Options
Alright, so how do we actually attach all these fish finder fancy-pants to your kayak?
There are a bunch of cool ways to do it, depending on your style and your kayak.
We’ll explain the most popular methods so you can pick the one that’s easiest for you and your boat.
Option 1: Inside the Hull
- How it Works: This is sneaky! You glue the transducer to the inside of your kayak’s hull. It shoots its sonar signal right through the plastic.
- Pros: Super clean, no holes to drill, the transducer arm is safe from bumps.
- Cons: It is not ideal for all kayaks, and you might lose some signal strength.
Option 2: Through the Hull
- How it Works: You drill a hole through the hull and stick the transducer directly in the water.
- Pros: Excellent signal, works on almost any kayak.
- Cons: It needs careful sealing to avoid leaks, and it’s a more serious installation.
Option 3: External Mounts
- How it Works: There are tons of different mounts out there – arms that swing out, suction cups that stick to the side, and even special tracks that are built into some kayaks.
- Pros: It’s super easy to adjust, and sometimes, no holes are needed. This makes taking your fish finder on and off a breeze.
- Cons: Can snag on stuff; some setups are a bit bulky.
No Matter How You Mount
- Instructions are Your Friend: Every fish finder and mount comes with instructions. Read them carefully—sometimes models have special quirks!
- Take Your Time: Do everything carefully so you don’t have to redo it. It’s better to be slow and sure, especially if you’re drilling.
- Think About Upgrades: How much do you want to spend? Some mounts are basic; others get fancy with arms and swivels. Start simple, and you can always add more later.

Pro Tip: Search online for “[Your Kayak Model] + fish finder mount” – you might be surprised! Kayak anglers all over the world share tips so you can see how other people rig up the same boat you have.
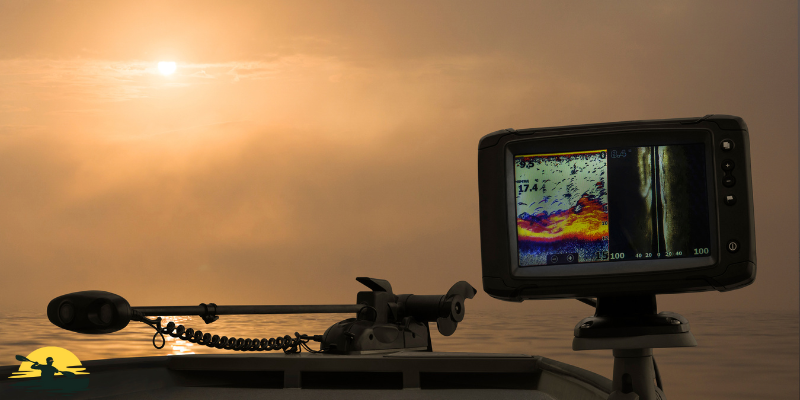
Powering Up and Wiring It All Together
Alright, your display is mounted, the transducer’s in place, and you’re itching to see those fish on the screen.
But before you can explore the underwater world, you need to give your fish finder the juice it needs to come alive. That’s where the battery and those sneaky wires come in.
Here’s a breakdown to keep things clear…
- The Battery: Most kayak fish finders use a special kind of battery called a 12-volt sealed battery. They’re smaller and tougher than your car battery, built to take the bumps and splashes of being out on the water. When choosing a battery, consider the “amp-hour” rating. The higher that number, the longer your fish finder will run on a single charge. Think about how long your typical fishing trips are and pick a battery that will give you enough power to last. For example, a seven amp-hour battery might be fine for a few hours of casual fishing, but if you’re planning all-day adventures, you might want to step up to a 12 or even a 17 amp-hour battery.
- Connecting the Battery: Your fish finder will come with specific instructions on how to connect the battery. These typically involve red and black wires (positive and negative) that need to be attached to the corresponding terminals on the battery. Double-check everything before you tighten the connections – you don’t want any sparks or surprises!
- Connecting the Display and Transducer: Again, refer to your fish finder’s instructions for this step. There will usually be a special power cable that connects the battery to the display unit. Another cable will connect the display to the transducer. These connections might involve screw-on ports or plug-and-play connectors, depending on your model.
Where to Put Your Battery
- Safe and Dry: This is the number one rule! Water and electricity don’t play nice. Most people use a waterproof box or a special battery bag to keep everything protected.
- Keep it Steady: You don’t want your battery rolling around and banging into stuff. Secure it in a spot where it can’t cause trouble.
Wiring 101
- Follow the Map: Your fish finder will have wiring instructions. These are like treasure maps showing you how to connect the display, transducer, and battery.
- Neatness Counts: Loose and tangled wires are a pain. Use things like zip ties and cable organizers to keep things tidy.
- Waterproof is Key: There are special connectors you can get for boat electronics. These keep the water from messing with your connections.
Safety First
Electricity and water can be a dangerous mix!
Here are quick tips:
- Always disconnect the battery when you’re not using the fish finder.
- If any wires look damaged, replace them. Don’t take chances!
- Not sure about something? It’s better to ask someone who knows than to risk it.
Pro Tip: Many fishfinder models have a built-in fuse. This protects your device if there’s an unexpected power surge.
Optimizing Your Setup and Becoming a Fish-Finding Pro
You’ve got your fish finder installed and powered up – amazing!
But the journey’s not over. There are some little tweaks and things to learn that can take you from a fish finder newbie to an underwater detective.
Here are some ways to become a pro:
- Practice Makes Perfect: The more you use your fish finder, the better you’ll understand what those squiggles and lines on the screen mean. Take your kayak out on familiar waters and experiment with different settings. Pay attention to how the display changes as you move over different bottom structures or depths.
- Become a Habitat Hero: Different fish like different homes. Learn about the kind of fish you’re targeting and what kind of underwater environment they prefer. Your fish finder can help you locate rockpiles, weed beds, or drop-offs—all prime fishy real estate!
- Think Like a Fish: Once you know where fish like to hang out, start thinking about what they’re doing there. Are they hunting for food? Spawning? Understanding fish behavior will help you position your bait or lure more effectively.
- Keep a Log: This is a great way to track your progress and learn from your experiences. Jot down things like the date, location, water conditions, what settings you used on your fish finder, and, of course, how many fish you caught! Over time, you’ll start to see patterns and become a more strategic angler.
- Fine-Tuning Your Transducer: Sometimes, even a small adjustment to your transducer’s angle or position in the water can make a huge difference in how clear the image on your screen is. Don’t be afraid to experiment a little bit until you find what works best for the depth and structure you usually fish in.
- Understanding Your Display: Your fish finder’s manual will explain how to adjust settings like sonar sensitivity, gain, and more. These let you customize how the fish finder shows you what’s underwater, making it easier to spot fish and understand the bottom structure. Play around with the controls and see how they change what you see on the display.
- Accessories That Rock: Once you’ve got the basics down, you can start exploring all the cool accessories out there. Things like rod holders that attach to your fish finder mount, storage solutions built for electronics, or even little sun visors to make your screen easier to see. Some kayak brands, like Hobie, have whole lines of accessories designed specifically for kayak anglers.
Beyond the Basics
The more you use your fish finder, the better you’ll get at reading the screen.
Here’s what to watch for:
- Arches: Those little arches and blobs often mean more fish!
- The Bottom: A hard bottom shows up differently than mud or weeds.
- Thermoclines: Some fancy fish finders can even show you changes in water temperature, which is a favorite hangout for certain fish.
Pro Tip: YouTube is a treasure trove for learning how to use your specific fish finder! You can search your model or features like CHIRP and see how other anglers get the most out of their setups.
Conclusion
Having a fish finder on your kayak is a total game-changer.
Instead of just guessing where the fish might be, you’ve got a sneak peek into their underwater world.
By following the steps above, you’ll be all set to install your fish finder like a pro—whether it’s a simple setup or a fancy one with all the bells and whistles.
Remember, even with the best fish finder, actually catching those fish still takes a little skill and practice!
Keep going even if you don’t reel in a monster on your first outing.
Use your fish finder as a tool to help you learn more about fish behavior and to figure out where they like to hide, and you’ll be way ahead of the game.
Now go forth and explore! The underwater world is yours to discover.
CTA
Tired of coming home empty-handed?
A fish finder might be your secret weapon. Unlock the underwater world and find those fishy hotspots.
Frequently Asked Questions
Where’s the best place to mount my fish finder display?
Look for a spot on your kayak that’s within easy reach, visible during paddling, and won’t get in your way. Make sure the screen is protected from glare and water splashes.
Can I mount my transducer inside the hull?
Yes! This is a clean and simple option, but it may work best with specific kayak hull shapes and fishfinder models. The transducer will shoot its sonar signal through the plastic of your kayak.
What kind of battery do I need for my kayak fish finder?
Most kayak fish finders use a small, sealed 12-volt battery. Choose a battery with enough amp-hours to power your fish finder for the length of your typical fishing trips.
How do I keep my fish finder battery safe and dry?
To protect your battery from water, use a waterproof box or a specially designed battery bag. You can secure it in a spot within your kayak where it won’t shift or get damaged.
What if I want to avoid drilling holes in my kayak?
There are plenty of great fishfinder mounts that don’t require drilling! Please be sure to look for options featuring suction cups, mounting tracks, or specialized arms that attach to existing features on your kayak.