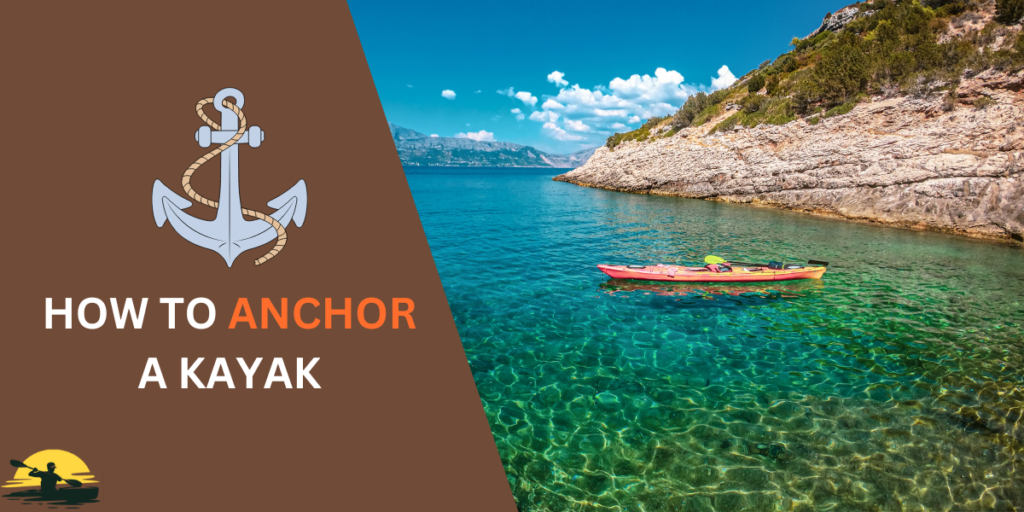
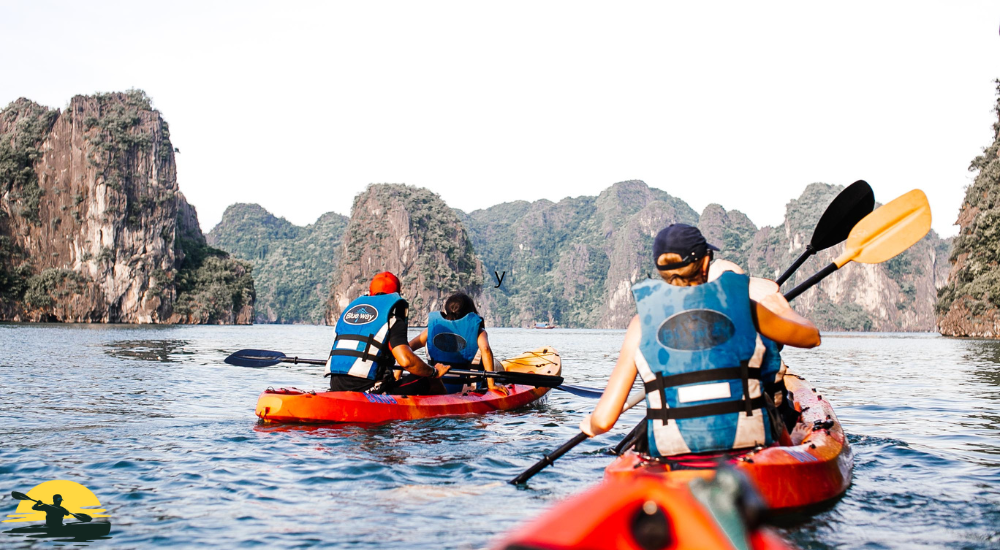
Have you ever been fishing from your kayak, and the wind keeps pushing your boat away from the perfect spot?
Or do you want to take awesome photos without your paddle getting in the way?
Anchoring solves this!
Picture yourself landing that trophy fish without your kayak swinging all over the place.
But with so many anchors and techniques out there, it’s easy to feel lost.
This guide has everything you need to anchor your kayak like a pro.
We’ll cover gear, step-by-step instructions, and even cool tricks like using a trolley for total control.
Get ready to fish, relax, and enjoy your kayak even more!
Kayak Anchoring Basics
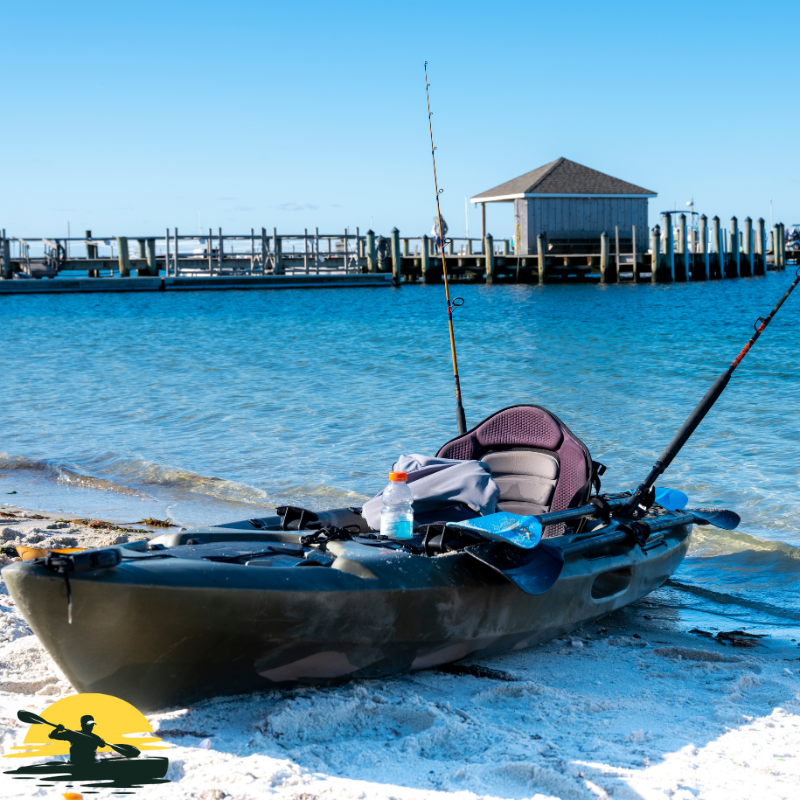
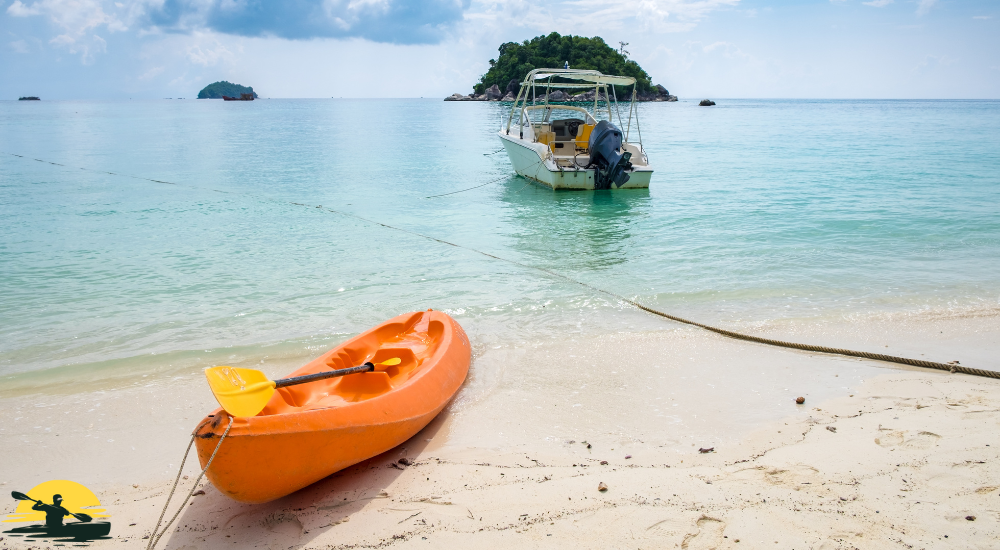
- Gear Up: Get the right anchor for where you paddle (grapnel anchors are all-around winners), a long enough nylon rope, and a quick release for safety.
- Pick Your Spot: Consider depth, bottom type, and wind/current direction.
- Drop Anchor: Face into the wind/current, gently lower the anchor, and let out rope (lots of it!).
- Set It: Tug at the rope to make sure the anchor digs in.
- Upgrade: An anchor trolley lets you easily change your kayak’s position – super handy for fishing!
Remember: Practice makes perfect, and safety always comes first!
Gear Up – The Right Equipment Matters
Before you can drop anchor, you’ll need the right tools.
Let’s break down the most important gear for anchoring your kayak:
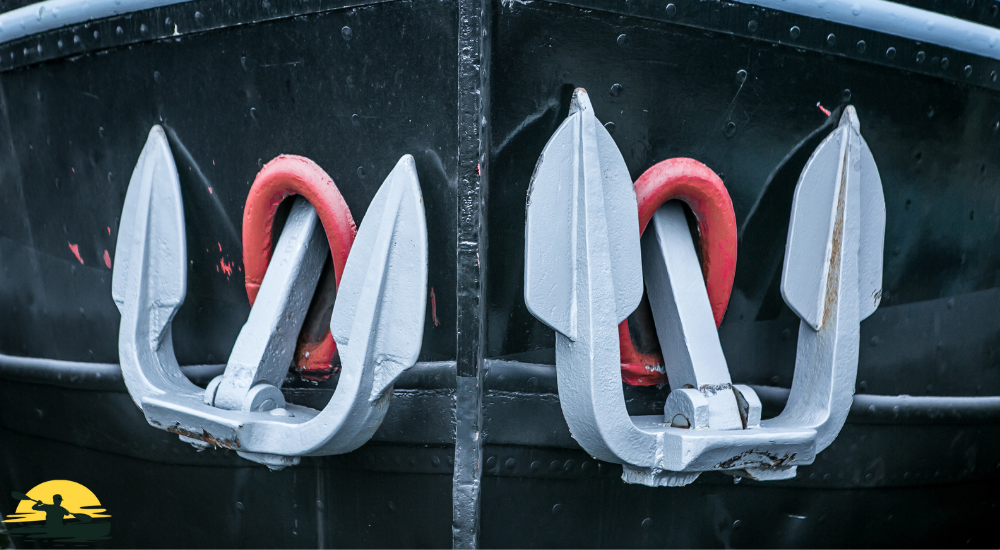
Types of Kayak Anchors
- Grapnel Anchor: This is the most popular choice. It looks a bit like a folding claw and works in lots of different places. It’s a good all-around anchor.
- Stakeout Pole: Think of this like a giant tent stake for your kayak. You push it into the mud in shallow water and tie your kayak to it.
- Mushroom Anchor: This is shaped like a mushroom (surprise!) and does a nice job on muddy lake or river bottoms.
- Drift Chutes: These act like underwater parachutes. They don’t hold you in one spot, but they slow you down if the wind or current is trying to drag you away.
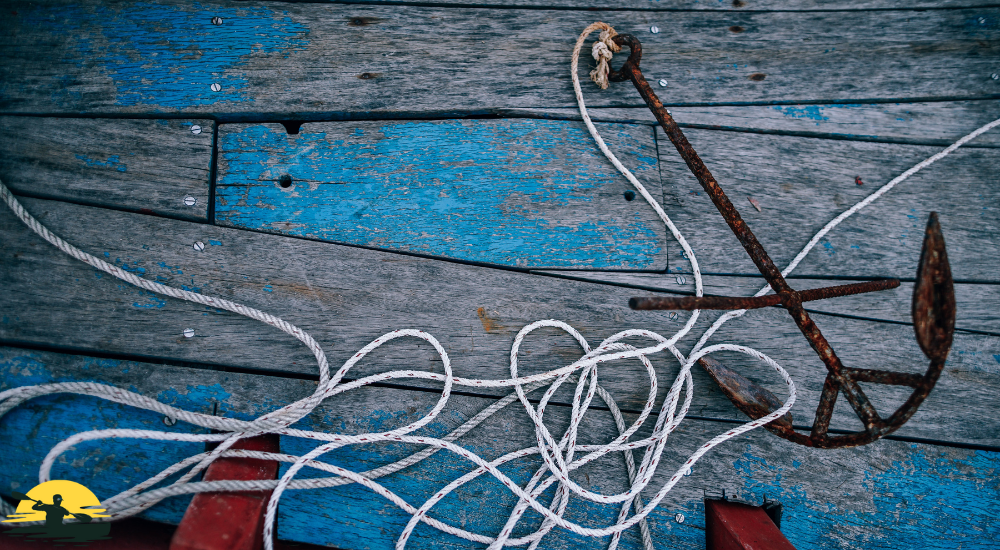
Anchor Ropes and Lines
- Your anchor is useless without a rope! Most people use nylon rope because it’s strong and floats.
- How much rope? A good rule is to have a length that’s at least seven times the depth of the water you’ll be in.
Additional Equipment
- Anchor Trolley: This is a fancy name for a line that runs from the front (bow) to the back (stern) of your kayak. It lets you easily adjust your kayak’s position relative to the anchor – super helpful for fishing!
- Floats and Buoys: These make your anchor line easier to see and help you pull it up.
- Quick-release: This is a safety must-have! It lets you detach your anchor quickly in an emergency.
Important Tip: Choose gear that matches where (and how) you use your kayak. If you have a pedal kayak, will your anchor system work with it?
Where to Get Gear: You can find all this stuff online (Amazon is a good starting point) or at stores that sell kayaks and fishing gear. Would you like any help choosing? There are tons of other sites with reviews and recommendations.
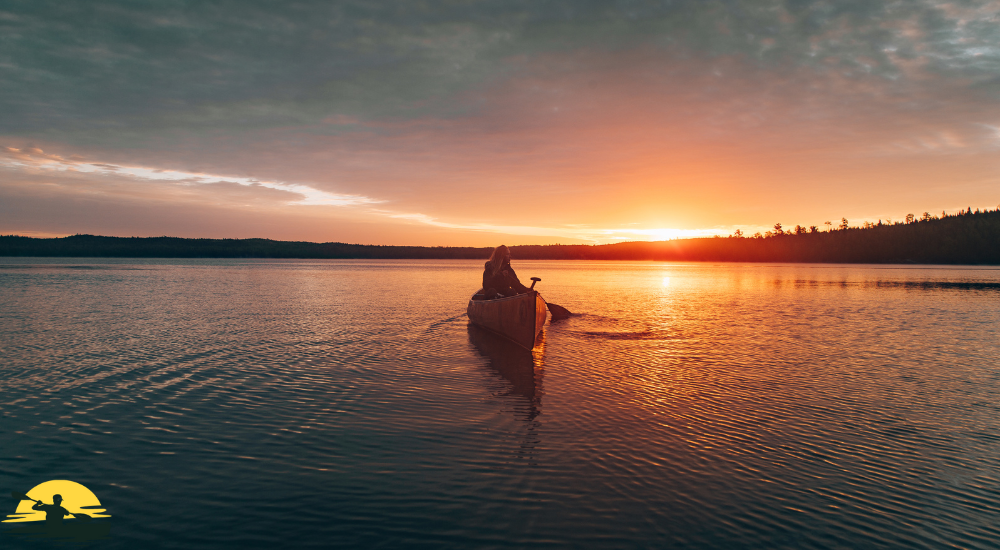
The Main Technique – Anchoring
Alright, you’ve got the gear; now it’s time to learn how to use it!
Anchoring a kayak is easy once you get the hang of it.
Here’s the breakdown…
Choosing the Spot
- Depth: You want to be in water deep enough that your kayak doesn’t hit the bottom but not so deep that you run out of anchor line.
- Bottom Type: Did you know that some anchors work better in mud, while others like rocky bottoms? Check out online resources to see which anchor suits your kayak’s location.
- Obstacles: Stay away from things that can snag your anchor, like fallen trees or underwater rocks.
- Wind and Current: Figure out which way these are going. You’ll want to position your kayak “upwind” or “up current” of where you want to end up.
- Preparing Your Anchor
- Assemble: Some anchors need to be assembled. Instructions usually come with them, or you can find them online.
- Attach the Rope: Tie your rope to the anchor nice and tight. A secure knot is super important!
Deploying Your Anchor
- Face the Right Way: Point the bow (front) of your kayak into the wind or current.
- Gently Drop: Lower the anchor over the front of your kayak; don’t throw it!
- Pay Out Rope: Let out the rope slowly until you feel the anchor reach the bottom. Don’t let it pile up in your kayak – that’s a recipe for tangles!
Setting the Anchor
- Give it a Tug: Pull on the rope to make sure the anchor digs in. You don’t have to yank it super hard, just enough to feel it’s not going anywhere.
- Check Your Swing: If your kayak is swinging around a lot, your anchor probably isn’t set right. You may need to pull it up and try again.
Important Note: The way you set the anchor depends slightly on the type you have. If you need more sharing options, please feel free to check the instructions or a quick how-to video online.
Pro Tip: Always be careful not to get your hands or feet tangled in the anchor rope – it can get pulled fast!
Mastering the Anchor Trolley
An anchor trolley is basically a fancy way to adjust where your anchor line attaches to your kayak. It’s seriously cool if you like to fish, but it’s also helpful for photography or just relaxing on the water.
Why an Anchor Trolley is Useful
- Change Your Position: Say you drop anchor and realize the best fishing spot is a few feet behind your kayak. With a trolley, you can slide your anchor line back without having to pull up the whole anchor!
- Fish All Around: A trolley lets you cast in every direction without your kayak swinging around like crazy.
Setting Up an Anchor Trolley
- Simple vs. Complex: You can buy a ready-made trolley kit or create your own using rope, pulleys, and a few rings. If you want to go the DIY route, there are lots of rigging videos online.
- Installation: This will depend on your kayak. Most trolleys attach along the sides of the boat. Check your kayak’s owner’s manual or search online for instructions specific to your model.
Using the Anchor Trolley
- Slide the Line: Once you have a trolley, your anchor rope runs through it. To move your position, slide the line forward or backward on the trolley.
- Adjust Your Angle: This lets you try fishing to the side, the front, or the back of your kayak. It’s a game-changer!
Pro Tip: Anchor trolleys add a little complexity and might not be worth it if you’re just a casual kayaker. But if you spend a lot of time on the water or get into kayak fishing, it’s a super useful upgrade.
Worth Noting: Using a trolley means you should always keep a sharp knife handy in case you need to cut your anchor rope quickly in an emergency.
Best Practices
Adjusting for Conditions
- Strong Wind or Currents: You’ll need more anchor rope (this is called “scope”) and maybe even a heavier anchor. More scope means the anchor pulls sideways instead of straight up, which helps it stay put.
- Change Your Tactics: If conditions are really rough, it’s sometimes better to find a sheltered spot instead of trying to fight the wind and waves with an anchor. Safety first!
Retrieving the Anchor
- The Straight Pull: Paddle your kayak until you’re directly over the anchor. Then, pull the rope straight up. This usually works if your anchor isn’t super stuck.
- Breaking it Free: If the anchor won’t budge, try attaching a float to the end of your anchor line and then paddling in a circle around the anchor. This changes the pulling angle and can help loosen it up.
Safety Considerations
- Don’t Get Tangled: Keep your anchor rope tidy and avoid stepping in loops – you don’t want to get dragged if it snags!
- The Quick Release: This is a must! It lets you instantly detach the anchor rope from your kayak if you need to.
Kayak Anchoring (what not to do)
- Too Little Scope: Your anchor will drag if you don’t let out enough rope.
- Guessing the Bottom: Knowing if it’s mud, rocks, or sand is crucial for choosing the right anchor and setting it.
- Ignoring the Weather: Don’t get caught in a situation where the wind or current changes and your anchor can’t hold!
Bonus Tip: Practice anchoring in calm, shallow water before heading out on a big adventure; this way, you can work out any kinks in your setup and feel confident when it really matters.
Beyond the Basics
Ready to take your kayak anchoring to the next level?
Here are a few more advanced tricks to consider:
Using Two Anchors
- Why Bother? If you’re dealing with really strong winds or seriously fast currents, sometimes one anchor isn’t enough. Two anchors, one off the front (bow) and one off the back (stern), can seriously lock you in place.
- Important: Be super careful not to tangle the lines when you put two anchors out or pull them back in!
DIY Anchor Solutions
- Feeling Crafty? You don’t have to buy a fancy anchor. People have used things like a heavy rock in a mesh bag, a small bucket filled with concrete, or even a gym weight!
- Pros and Cons: DIY stuff is cheaper, but it might not work as well as a store-bought anchor, depending on the conditions you’re in.
Important Note: These techniques could be simpler. Before trying them out, it’s a good idea to do some research or watch a few how-to videos online.
Conclusion
Anchoring a kayak isn’t super hard, but there’s definitely a knack to it!
Remember these key things:
- Choose the right gear for your kayak and where you paddle.
- Learn the basic anchoring steps for calm waters first.
- Consider an anchor trolley if you want more control.
- Be safe! Always keep a quick release handy.
The more you practice, the easier it gets.
Now, get out there and enjoy the stability and freedom that anchoring gives you.
Whether you’re fishing, taking photos, or just chilling out on the water, you’re set for a whole new kayaking experience!
Frequently Asked Questions
Can I use any rope for my anchor?
While you could technically use any rope, nylon rope is best. It’s strong, floats, and resists rot, so it lasts a long time in the water. Let me know if you have other questions—I’m happy to share more!
How long should my anchor rope be?
The general rule of thumb is to anchor at least seven times the depth of the water. But in strong winds or currents, you might need even more scope (that’s the fancy word for anchor rope length)! Feel free to leave a comment and share what’s worked for you. Comment share is very effective.
Do I need a special release mechanism for my kayak anchor?
Yes! Always use a quick-release attachment between your kayak and the anchor rope. That way, you can ditch the anchor quickly in an emergency. It’s a must-have for safety!
Is it safe to anchor in strong currents?
It depends on your experience and how strong the current really is. If you’re not sure, err on the side of caution and find a calmer spot. Remember, safety comes first! Thanks for stopping by!
Do I need an anchor trolley if I only kayak occasionally?
Probably not. Anchor trolleys are great but add some complexity. If you’re a casual kayaker, you should focus on mastering the basics of anchoring first. You can always add a trolley later if you decide you need the extra control.